 After 5 days, this is what we came up with! It is unwashed and unsealed as yet but we were onto bigger and better things when this was taken. Planting and other finishing aspects will happen soon.
Your Standard Average Finished Product!
Reply

After 5 days, this is what we came up with! It is unwashed and unsealed as yet but we were onto bigger and better things when this was taken. Planting and other finishing aspects will happen soon.
 Here’s the look with sand over the top of our work. The sand also provides a sort of “lubricant” for the plate tamper we use to compact with. It can, at times, abrade the bricks, making some scuff marks with its repeated hammering with a steel plate hitting bricks, so we always use a this layer of sand to cushion it, while the sand gets distributed between the cracks.
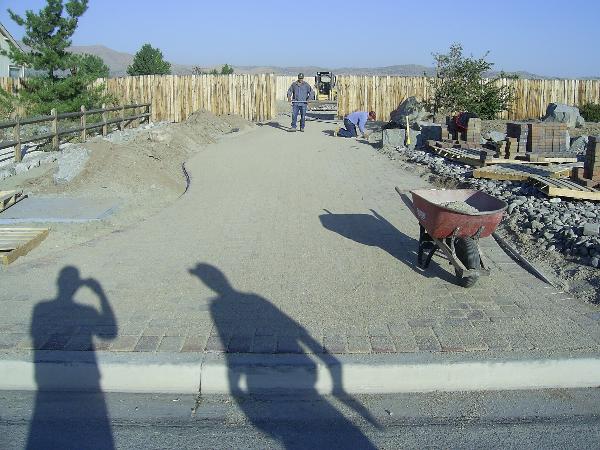
 The edges on both sides are cut in place and we are ready to add sand for the “grouting” purposes, then compacting, yet again. This last compaction is less for structural purposes than for aesthetic ones. Pavers can have small imperfections in depth and whatnot, plus there may have been one or two areas where our screeding was not exact. By compacting, we not only shake the sand into locking position, holding further the pavers in place, but we also address any imperfections in grade.
 As you can see, we reached a completion level on one side of things. We cut to fit, install a “soldier course” of perpendicular pavers in a row. This adds to the attractiveness and also supplies larger pavers for the edge, resulting in a more stable overall surface.